Replacing an outdated HVAC (Heating, Ventilation, and Air Conditioning) unit is of utmost importance due to a multitude of reasons. Outdated units are known to be highly inefficient, leading to increased energy costs, compromised indoor air quality, and elevated maintenance needs.
First and foremost, outdated HVAC units are far less efficient compared to their modern counterparts. They are not equipped with the latest technological advancements, resulting in higher energy consumption. This inefficiency can significantly inflate energy costs, leading to financial burdens for homeowners and businesses alike.
Furthermore, outdated HVAC units also contribute to poor indoor air quality. Over time, dust, allergens, and pollutants accumulate within these units, causing the distribution of contaminated air throughout the building. This can lead to various health issues such as respiratory problems, allergies, and asthma. By replacing an outdated unit, one can ensure the circulation of clean, fresh air, enhancing the overall comfort and well-being of occupants.
Maintenance needs are also increased with outdated HVAC units. As they age, these units are prone to breakdowns, requiring frequent and costly repairs. This can disrupt daily operations and increase operational expenses. By replacing the outdated unit, one can reduce the need for constant repairs and enhance the overall reliability of the HVAC system.
The importance of replacing an outdated HVAC unit cannot be overstated. By doing so, one can improve energy efficiency, reduce energy costs, enhance indoor air quality, and minimize maintenance needs. This not only ensures comfortable and healthy indoor environments but also brings about long-term cost savings and environmental benefits.
Benefits Of Upgrading to a More Energy-Efficient System
Upgrading to a more energy-efficient system can have a multitude of benefits that go beyond just reducing your electricity bill. Not only does it contribute to a more sustainable environment by conserving energy resources, but it also enhances the comfort and livability of your space.
We will explore the numerous advantages of upgrading to a more energy-efficient system, ranging from lower operating costs to improved indoor air quality and increased property value. By understanding the wide-ranging benefits, homeowners and businesses can make informed decisions that not only benefit their wallets but also have a positive impact on the planet.
Assessing Your Needs
Assessing your HVAC needs is an essential step in finding the right heating, ventilation, and air conditioning system for your space. To ensure optimal comfort and efficiency, several factors should be considered.
Firstly, consider the size of the space that needs to be conditioned. A larger space will require a more powerful system to adequately heat or cool the area. Additionally, the climate in which the space is located is crucial. Extreme temperatures or high humidity levels may require a system with enhanced capabilities.
Next, consider any specific heating and cooling requirements you may have. For example, if you have allergies or respiratory issues, you may want to invest in a system with advanced air filtration options. Alternatively, if you require precise temperature control for sensitive equipment, a system with zoning capabilities may be necessary.
Once you have a clear understanding of your needs, it is advisable to seek professional evaluation services. HVAC professionals can accurately assess your space and provide recommendations based on your specific requirements. They will also be able to determine the appropriate unit size for your space, ensuring optimal performance and energy efficiency.
When choosing an HVAC system, consider factors such as energy efficiency, cost, and brand reputation. Opting for an energy-efficient system can lead to significant long-term savings on energy bills. It is also wise to research different brands and their reputations for quality and reliability.
Assessing your HVAC needs before purchasing a system is crucial to ensure comfort, efficiency, and satisfaction. By considering factors such as space size, climate, and specific requirements, seeking professional evaluation services, and evaluating energy efficiency, cost, and brand reputation, you can make an informed decision and find the ideal HVAC system for your needs.
Determining the Appropriate Size and Capacity for Your Home
Determining the appropriate size and capacity for a home HVAC system is crucial for maintaining optimal comfort and energy efficiency. The process involves considering multiple factors to calculate the tonnage needed.
One of the primary factors to evaluate is the square footage of the home. The size of the HVAC system should be proportional to the size of the living space. A larger home will require a system with greater capacity to effectively cool or heat all the rooms.
Climate is another important consideration. The temperature and humidity levels in a particular region impact the cooling and heating requirements. For example, areas with hot and humid climates will need a larger system to efficiently remove moisture from the air.
Insulation is yet another factor to take into account. A home with poor insulation will leak air, causing the HVAC system to work harder to maintain the desired temperature. It is important to assess the insulation quality and consider appropriate measures to improve it.
The building style can also influence the HVAC system’s size and tonnage calculation. The number and size of windows, as well as the orientation of the house, affect the amount of heat gain or loss. A qualified technician will evaluate these factors to accurately determine the system’s requirements.
To ensure an accurate assessment and avoid potential issues, consulting a qualified technician is vital. They possess the expertise to calculate the tonnage needed based on the specific characteristics of your home, such as square footage, climate, insulation, and building style.
Determining the appropriate size and capacity for a home HVAC system involves considering factors like square footage, climate, insulation, and building style. Seeking professional advice from a qualified technician is essential for an accurate assessment tailored to your home’s unique requirements.
Calculating Square Footage and Heat Load Requirements
Calculating square footage and heat load requirements is an essential step in designing and implementing heating and cooling systems for residential, commercial, and industrial buildings. Accurate calculations ensure that the HVAC system is properly sized and can efficiently meet the heating and cooling demands of the space.
By determining the square footage and heat load requirements, HVAC professionals can determine the appropriate equipment size, airflow rates, and insulation needs to maintain optimal indoor comfort while minimizing energy consumption and operating costs.
We will explore the importance of square footage and heat load calculations, outline the different methods used to calculate them and discuss the factors that influence heat load requirements. Understanding these concepts is crucial for HVAC professionals, architects, engineers, and anyone involved in the design and installation of heating and cooling systems.
Choosing the Right System
When it comes to choosing the right HVAC system, several key factors need to be considered. One of the most important factors is the size of the system. An HVAC system that is too small will struggle to adequately cool or heat the space, while a system that is too large will result in wasted energy and increased utility bills.
It is essential to accurately assess the size requirements of the home or building to ensure the HVAC system can effectively meet the cooling and heating demands.
Another crucial consideration is the capacity of the HVAC system. The capacity is determined by the amount of cooling or heating output the system can provide. It is important to choose a system that has the appropriate capacity for the size of the space. This ensures that the system can effectively maintain a comfortable temperature without being overworked or underutilized.
Efficiency requirements are also important when selecting an HVAC system. High-efficiency systems can significantly reduce energy consumption and lower utility bills. It is essential to choose a system that has a high SEER (Seasonal Energy Efficiency Ratio) rating for cooling and a high HSPF (Heating Seasonal Performance Factor) rating for heating. These ratings indicate the system’s energy efficiency and should be considered along with the size and capacity requirements.
Lastly, it is essential to select an HVAC system that fits within the allocated budget. While it may be tempting to opt for the cheapest option, it is important to consider the long-term costs and benefits. Investing in a more expensive, high-quality system with better energy efficiency can result in significant savings on utility bills over time.
In conclusion, choosing the right HVAC system involves careful consideration of the size, capacity, and efficiency requirements. It is also crucial to select a system that aligns with the allocated budget. By taking these factors into account, individuals can ensure they choose an HVAC system that effectively cools and heats their space while minimizing energy consumption and costs.
Understanding the Difference Between Heat Pumps and Air Conditioners
Heat pumps and air conditioners are both commonly used for cooling in residential and commercial buildings, but they differ in their functionality and benefits.
The main difference between a heat pump and an air conditioner lies in their ability to provide both cooling and heating. While air conditioners only cool the air, heat pumps can both cool and heat the air. This is achieved by reversing the refrigeration cycle. In hot weather, a heat pump works like an air conditioner, extracting heat from the indoor air and releasing it outside. In cold weather, the heat pump reverses the process, extracting heat from the outdoor air and transferring it indoors.
The dual functionality of heat pumps is a major advantage over air conditioners. Heat pumps provide efficient heating in addition to cooling, eliminating the need for a separate heating system. This can lead to cost savings and convenience for homeowners.
In terms of operation, air conditioners use a refrigeration cycle to cool the air. They remove heat from the indoor air and release it outside. Heat pumps utilize the same refrigeration cycle but with the ability to reverse it for heating. This makes heat pumps more versatile.
In terms of efficiency, heat pumps are generally more energy-efficient than air conditioners. The reason is that heat pumps transfer heat from one location to another, rather than generating heat by burning fuel. However, the efficiency of a heat pump can be affected by the temperature difference between indoors and outdoors.
While both heat pumps and air conditioners provide cooling, heat pumps offer the added benefit of heating. They function differently by reversing the refrigeration cycle, and their key distinctions lie in their operation and efficiency. Heat pumps provide efficiency and versatility, making them a popular choice for all-year-round temperature control.
Considering Energy Efficiency Ratings and SEER Values
When it comes to choosing an energy-efficient air conditioning system, one of the key factors to consider is the energy efficiency rating and Seasonal Energy Efficiency Ratio (SEER) values. Both of these factors play a crucial role in determining the system’s overall energy efficiency and can have a significant impact on your utility bills.
Understanding what these ratings mean and how they are measured is essential for making an informed decision and ensuring optimal energy savings. In this article, we will explore the importance of considering energy efficiency ratings and SEER values when choosing an air conditioning system, highlighting the benefits they offer and providing tips for selecting the most efficient option for your needs.
Preparing for Installation
Before technicians can begin setting up new equipment, it is essential to make the necessary changes and preparations. This includes modifying or replacing various components such as wiring, piping, breakers, ductwork, and the condenser pad to ensure compatibility with the new equipment.
One important aspect of preparing for installation is assessing the existing infrastructure and identifying any modifications or replacements that need to be made. This may involve inspecting the wiring and replacing outdated or worn-out components to ensure efficient and safe operation of the new equipment. Similarly, technicians may need to modify the piping and ductwork to ensure proper airflow and ventilation.
In some cases, if the new equipment requires a higher electrical load, it may be necessary to upgrade the electrical breakers and wiring to accommodate the increased power requirements. This step is crucial to prevent circuit overloads and electrical hazards.
Another critical consideration in preparing for installation is the condenser pad. Technicians must evaluate the existing pad and make any necessary adjustments or replacements. The pad should be level and sturdy enough to support the weight of the equipment, providing a stable foundation for installation.
By thoroughly assessing and addressing these necessary changes, technicians can ensure a smooth and successful installation process. This proactive approach minimizes troubleshooting and potential issues that may arise during equipment setup.
Clearing the Area Around the Indoor Air Handler and Outdoor Unit
When preparing to replace an HVAC system, it is important to clear the area around both the indoor air handler and the outdoor unit to ensure a smooth installation process. This is especially crucial when dealing with restricted spaces, such as a closet or basement, where the indoor evaporator coil may be located.
To begin, clear any obstacles or debris from around the indoor air handler. This includes removing any furniture, boxes, or other items that may obstruct access to the unit. Be sure to create a clear path from the entry point of the space to the air handler, allowing for easy manoeuvrability during the replacement process.
Next, move on to the outdoor unit. Remove any plants, shrubs, or other vegetation that may be encroaching on the unit. Trim back any branches or vines to ensure they are not interfering with the unit’s proper functioning. Additionally, clear away any accumulated leaves, dirt, or other debris from the surrounding area to ensure proper airflow and prevent potential damage to the new unit.
In the case of a restricted space, such as a closet or basement, take extra precautions to clear the area surrounding the indoor evaporator coil. This may involve completely emptying the space of any belongings or storage items to create ample room for the replacement. It is important to ensure that the area is free of any potential hazards or obstacles that could hinder the installation process.
By carefully following these steps and taking the necessary precautions, you can effectively clear the area around the indoor air handler and outdoor unit, allowing for a seamless HVAC replacement process.
Protecting Furniture and Valuables with Drop Cloths
When it comes to tackling a home improvement project, one of the most important aspects is protecting your furniture and valuables. Whether you’re painting the walls, refinishing the floors, or doing any other task that may create dust, debris, or spills, using drop cloths is essential.
These protective covers act as a shield, ensuring that your furniture remains unharmed and your valuables stay safe from any potential damage. By taking the time to properly cover your items with drop cloths, you can complete your project with peace of mind, knowing that your belongings are well-protected throughout the process.
The Installation Process
The installation process of a new unit involves several steps to ensure a seamless transition while minimizing disruption to daily routines. The first step is the removal of the old unit. This typically involves disconnecting the electrical and plumbing components and safely removing the unit from its existing location.
Next, preparation of the space is crucial to ensure a proper installation. This can include cleaning the area, checking for any necessary repairs or modifications, and making sure all necessary tools and materials are readily available. It is important to ensure that the space meets the requirements for the new unit, including proper electrical and plumbing connections.
Once the space is prepared, the new unit can be installed. This involves carefully manoeuvring the unit into place, making the necessary connections to the electrical and plumbing systems, and ensuring it is secured properly. Following installation, it is important to thoroughly test the new unit to ensure it is functioning correctly.
The time it takes to complete the installation process can vary depending on several factors, such as the complexity of the unit and any necessary modifications to the space. However, the goal is always to minimize disruption to daily routines as much as possible. This can be achieved by working efficiently and effectively, communicating any necessary disruptions or inconveniences to the occupants, and completing the installation on time.
In conclusion, the installation process involves several steps, including the removal of the old unit, preparation of the space, and installation of the new unit. The goal is to minimize disruption to daily routines while ensuring a seamless transition. By following these steps and working efficiently, a successful installation can be achieved.
Installation Timeline
Overview of the Installation Timeline
The installation timeline for a new system typically takes one day, although for more complex or advanced replacements, it may extend to a second day. This timeline ensures that the installation process is carried out efficiently and effectively to minimize disruption and inconvenience.
The first step in the installation process is a thorough inspection of the existing system. This enables the installation team to identify any potential issues or challenges that need to be addressed during the replacement. Following the inspection, the old system is carefully disconnected to make way for the new unit.
Once the old system is disconnected, the new unit is mounted and connected according to manufacturer guidelines and specifications. This step requires precision to ensure proper alignment and functioning of the new system. After installation, the team tests the new unit for proper operation to confirm that it is functioning correctly and efficiently.
Lastly, the installation team cleans up any debris and tidies up the area, leaving it in the same condition as before the installation. This ensures a seamless transition and minimizes any inconvenience to the homeowner.
The installation timeline for a new system typically spans one day but may extend to a second day for more complex or advanced replacements. The process involves inspecting the existing system, disconnecting the old system, mounting and connecting the new unit, testing for proper operation, and cleaning up debris. By following this timeline, the installation is completed efficiently and effectively.
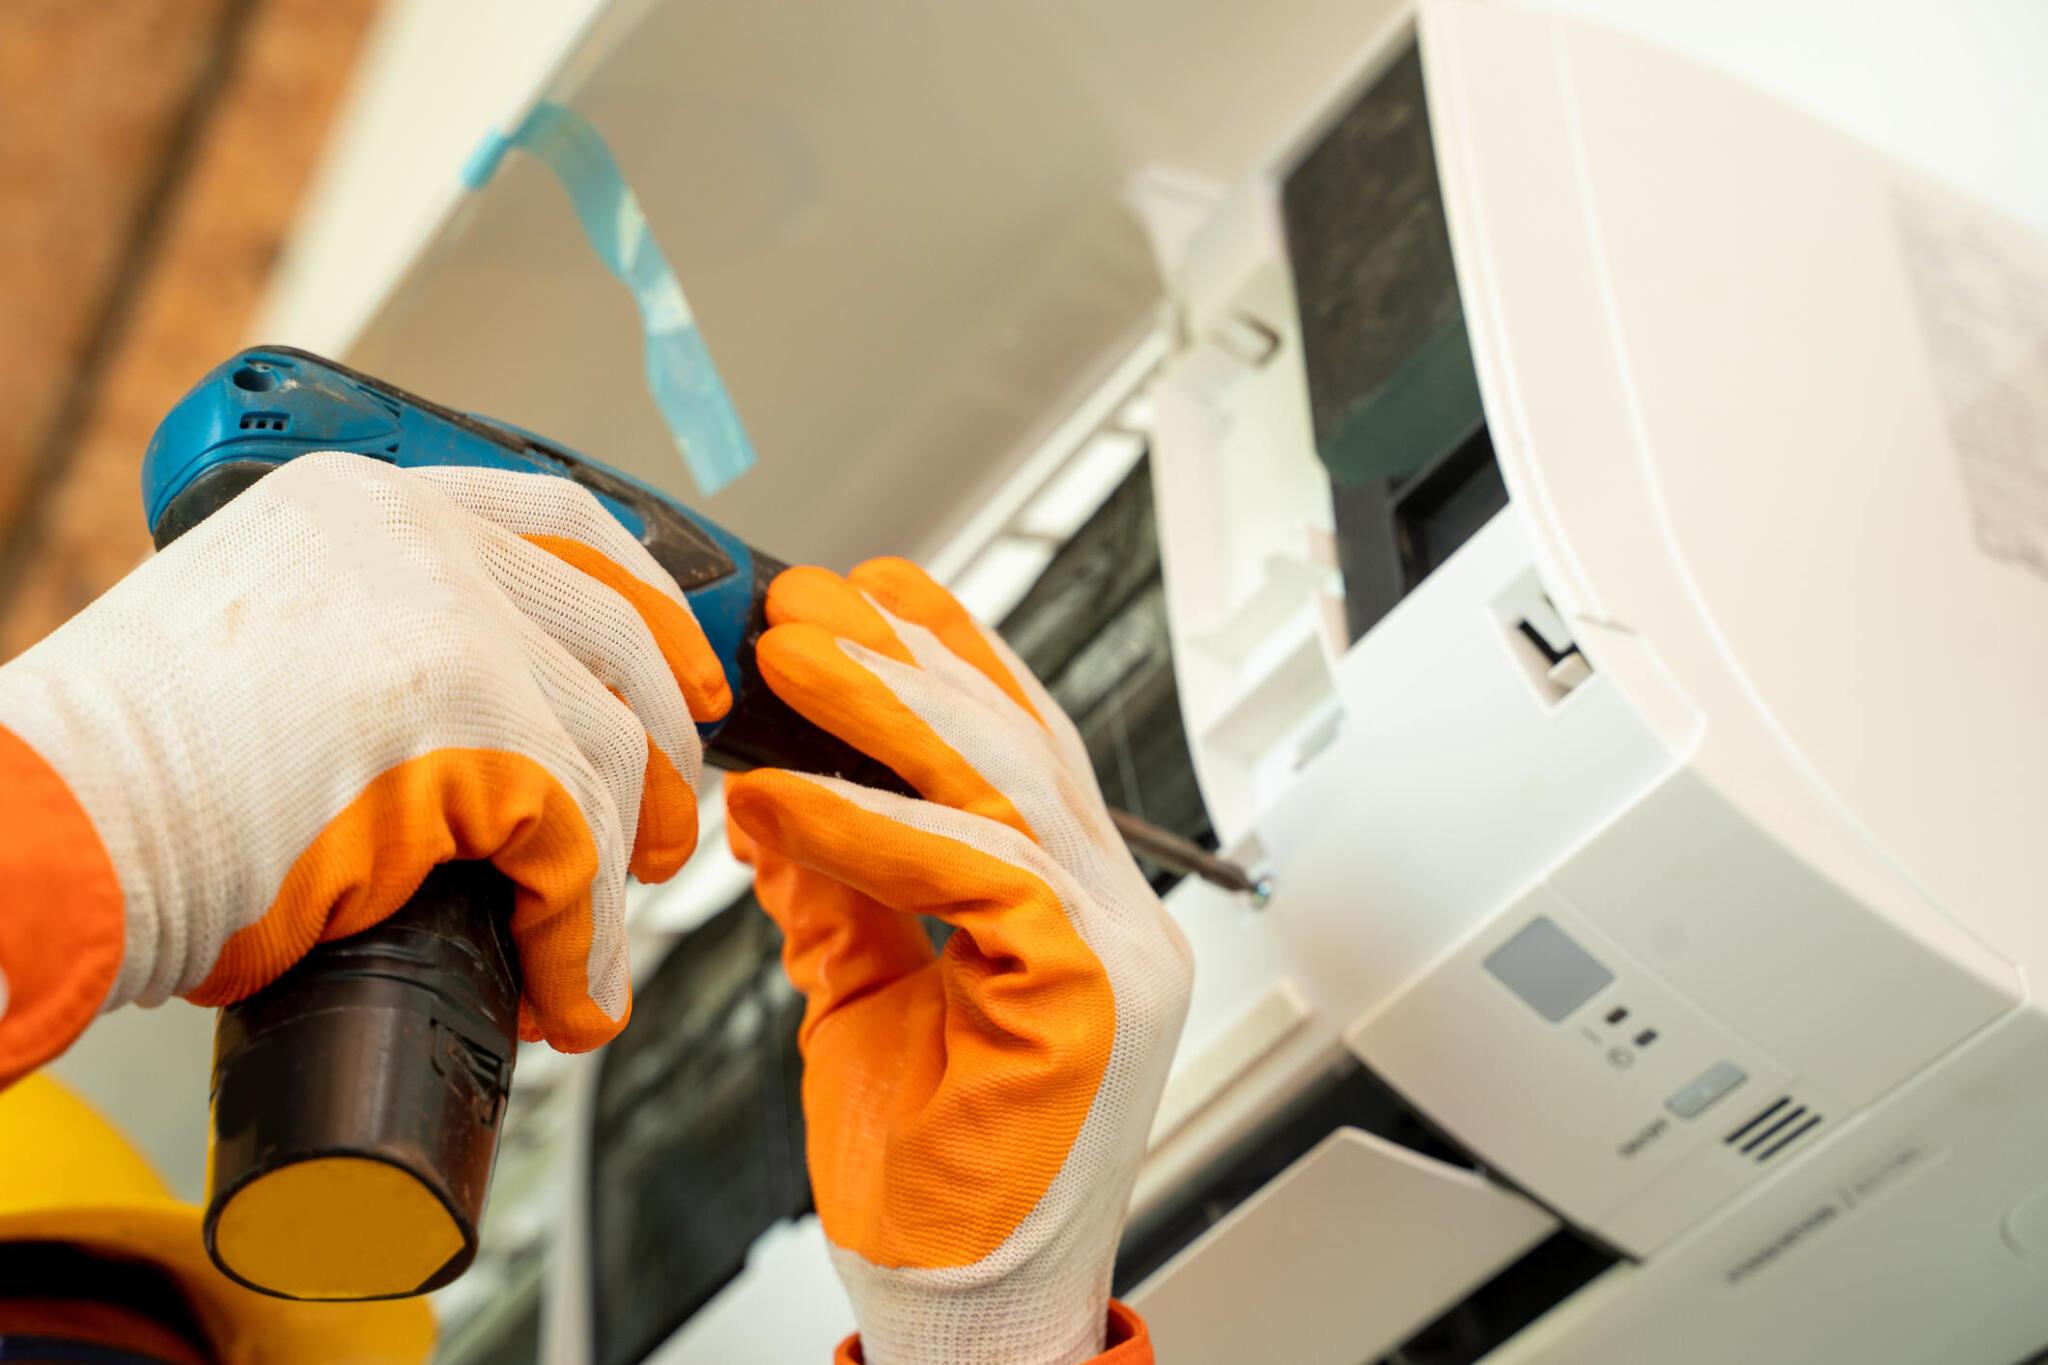
Steps Involved in Removing the Old Unit and Installing the New System
Steps involved in removing the old unit and installing the new system:
1. Turn off all power to the existing system at the breaker and disconnect the unit from the power supply.
2. Locate and remove the air handler unit from the existing system. This typically involves removing screws or bolts and disconnecting wiring.
3. Disconnect the condenser unit, which is typically located outside. This involves turning off power at the breaker, disconnecting the electrical wiring, and disconnecting the refrigerant lines.
4. Properly dispose of the old air handler and condenser unit following local regulations. This may involve taking them to a recycling centre or arranging for proper disposal.
5. If necessary, install any additional components required for the new system, such as a new air handler or condenser pad.
6. Install the new air handler unit by aligning it properly and connecting any necessary wiring and ductwork.
7. Install the new condenser unit outside by placing it on the condenser pad and connecting the electrical wiring and refrigerant lines.
8. Connect the new system to the power supply and turn the power back on at the breaker.
9. Test the new system to ensure it is working properly, checking for any leaks, odd noises, or abnormal functioning.
10. Dispose of any packaging or materials from the new system appropriately and clean up the work area.
By following these steps, the old unit can be safely removed and the new system installed without any issues.
Conclusion
Replacing your HVAC unit is a significant investment, but it can pay off in terms of improved comfort, energy efficiency, and indoor air quality. By understanding the signs that it’s time for a replacement, selecting the right unit and contractor, and following proper maintenance guidelines, homeowners can enjoy years of reliable performance from their new HVAC system.
FAQs About HVAC Replacement
- How long does HVAC replacement typically take? HVAC replacement timelines can vary depending on factors such as the complexity of the installation and any necessary modifications to existing ductwork or infrastructure. On average, however, a standard HVAC replacement can be completed within a day or two.
- What factors influence the cost of HVAC replacement? Several factors can influence the cost of HVAC replacement, including the size and type of unit being installed, the complexity of the installation process, and any additional upgrades or features desired by the homeowner.
- Is it necessary to replace both heating and cooling components? In many cases, it’s recommended to replace both heating and cooling components simultaneously to ensure optimal compatibility and performance. However, if one component is significantly newer or in better condition than the other, it may be possible to replace them separately.
- Will upgrading to a more energy-efficient unit save money? Yes, upgrading to a more energy-efficient HVAC unit can lead to significant cost savings over time by reducing energy consumption and utility bills. Additionally, many energy-efficient units may qualify for rebates or incentives from local utility companies.
- What should homeowners do if they encounter issues after installation? If homeowners encounter any issues or concerns after HVAC installation, they should contact the installation company or HVAC contractor promptly to address the problem. Most reputable contractors offer warranties or guarantees on their workmanship and will be happy to assist with any post-installation issues.
- How often should HVAC systems be inspected and maintained? It’s recommended to schedule annual maintenance appointments with a qualified HVAC technician to ensure the longevity and efficiency of your HVAC system. Additionally, homeowners should perform regular filter replacements and cleanings as needed to maintain optimal indoor air quality.